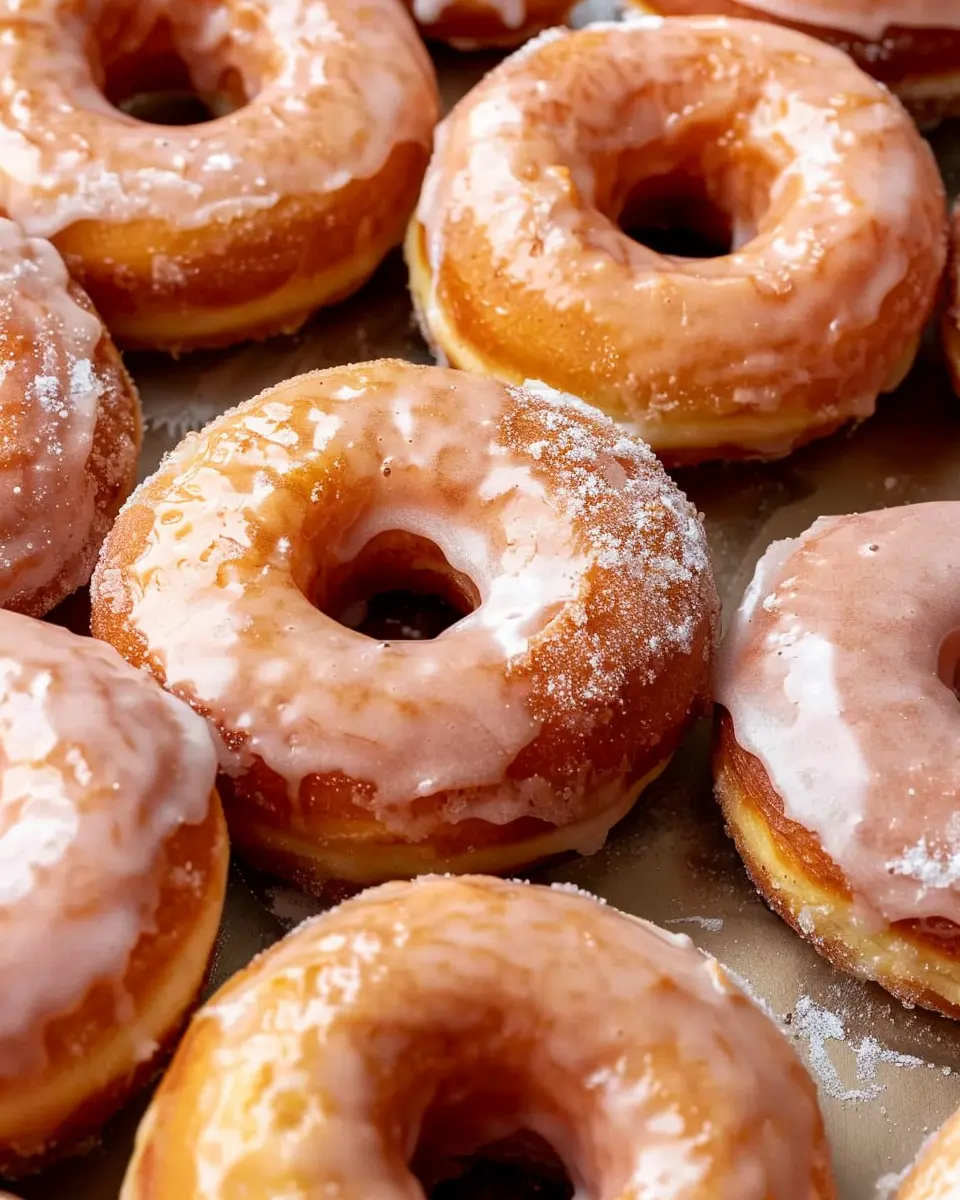
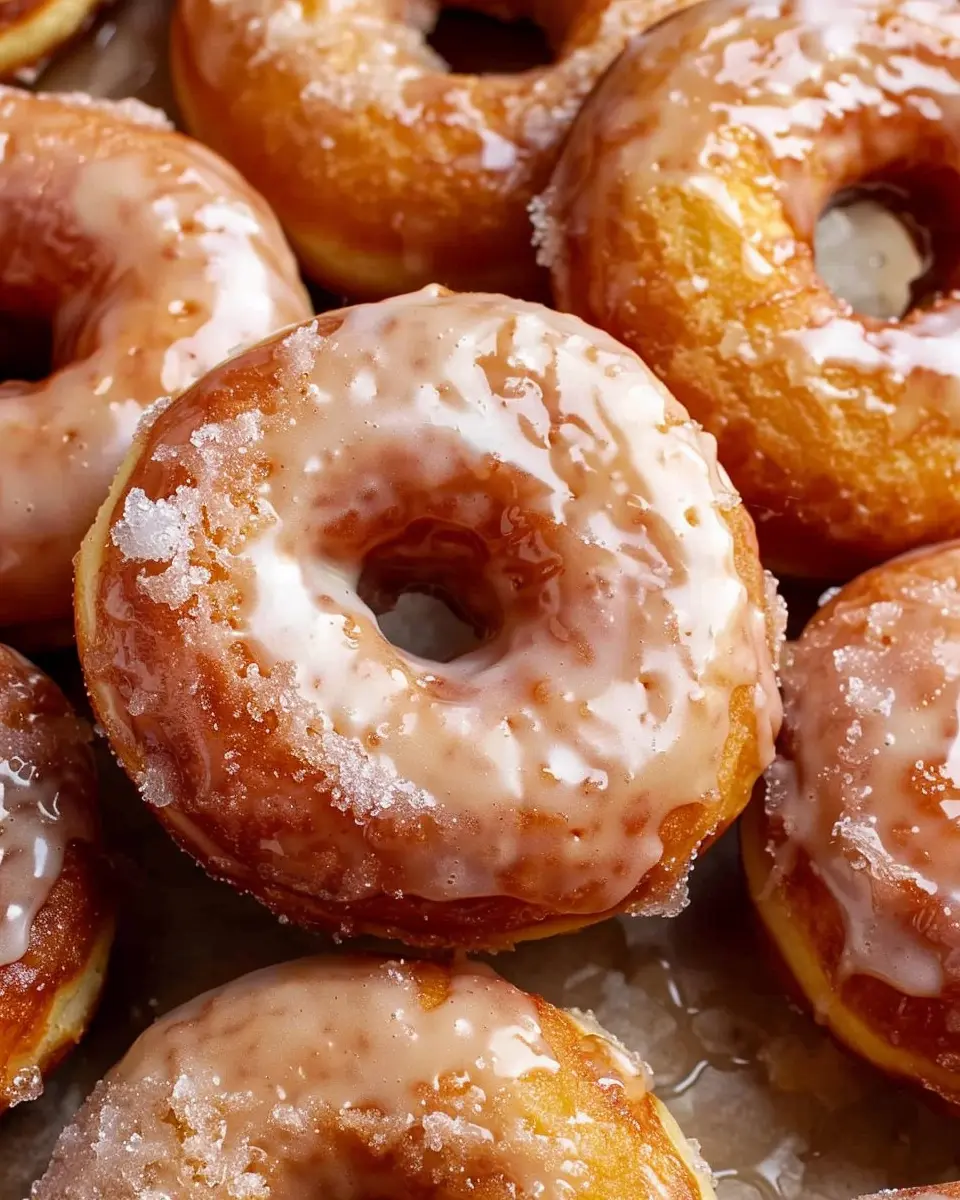
Introduction to Homemade Glazed Donuts
Have you ever thought about the comforting aroma of freshly fried donuts wafting through your home? If not, you’re in for a delightful surprise. Homemade glazed donuts are not just a treat; they’re an experience that can elevate your weekends or energize your busy mornings. As a young professional, you might find that making these donuts offers you a sweet escape from your hectic routine. Plus, it’s a fun and rewarding way to unleash your inner chef.
Why homemade glazed donuts are a must-try for young professionals
Let’s face it—there’s something incredibly satisfying about whipping up a batch of homemade glazed donuts. Picture this: after a long week of deadlines and Zoom meetings, you take a moment to immerse yourself in the rhythm of mixing, frying, and glazing. You’re not just making a snack; you’re crafting a piece of joy.
Here’s why these delightful treats deserve a spot on your kitchen counter:
-
Customization: With homemade donuts, you can experiment beyond the basic glaze. Think about adding flavors like vanilla bean, coconut, or even infusing your glaze with spices. The possibilities are endless, which makes each batch unique to your taste.
-
Quality Control: Unlike store-bought donuts that often rely on preservatives, your homemade creations will be as fresh and wholesome as possible. You control every ingredient—from sugar to flour—and can even opt for organic or specialty ingredients if that’s your jam.
-
Social Connection: Who says you have to enjoy your homemade glazed donuts solo? Invite friends over for a donut-making party, and share the joy of creation! It’s an easy way to connect with your friends while indulging in something delicious.
-
Cost-Effective: Let’s not ignore the financial aspect. Making donuts at home can save you a fair amount, especially when compared to boutique bakeries. Plus, you’ll have control over portion sizes and can whip up more for the same price.
Ready to dive into this donut adventure? With just a few ingredients and a dash of love, you’ll impress yourself and those around you. Check out our full recipe to get started, and soon you’ll be enjoying your homemade creations like a pro!
Ingredients for Homemade Glazed Donuts
Creating the perfect homemade glazed donuts starts with gathering the right ingredients. Here’s what you’ll need:
Essential Ingredients for the Donut Dough
For the dough, you want to combine basic yet essential ingredients to achieve that light and fluffy texture:
- Flour: 2 ½ cups of all-purpose flour gives the donuts their structure.
- Sugar: ½ cup of granulated sugar for sweetness.
- Baking powder: 2 teaspoons for that lovely rise.
- Salt: ½ teaspoon to enhance flavor.
- Eggs: 2 large eggs add richness and stability.
- Milk: ¾ cup of whole milk makes the dough creamy and moist.
- Butter: ¼ cup, melted, for a velvety finish.
Ingredients for the Sugar Glaze
The sugar glaze is what transforms a simple fried dough into something spectacular. Here’s what to whip up:
- Powdered sugar: 2 cups for that smooth texture.
- Milk: 2-4 tablespoons, just enough to create a pourable consistency.
- Vanilla extract: 1 teaspoon enhances flavor.
Once you have these ingredients, you’re ready to dive into the delightful world of homemade glazed donuts. If you’re curious about the science behind frying, check out this informative article on frying techniques from Serious Eats. Happy baking!
Step-by-step Preparation of Homemade Glazed Donuts
Making homemade glazed donuts is more than just a baking project; it’s an experience filled with warmth, nostalgia, and, of course, the delightful aroma of yeast and sugar wafting through your kitchen. Follow these easy steps to create your fluffy, sweet treats!
Creating the Tangzhong
Before diving into the dough, let’s start with something a little fancy: tangzhong. This simple mixture of flour and water will help create soft, pillowy donuts.
- Ingredients:
- 3 tablespoons of all-purpose flour
- 1/2 cup of water
- In a small saucepan, whisk together the flour and water.
- Heat over medium heat, stirring constantly until it thickens and forms a paste. This usually takes around 3-5 minutes.
- Remove from heat and let it cool down to room temperature.
Tangzhong is a game-changer for yeast-based recipes, and this technique can be useful for other baked goods too. You might want to check out some bread recipes that use tangzhong for a softer crumb!
Mixing the Donut Dough
With your tangzhong ready, it’s time to bring the dough together.
- Ingredients:
- 2 ½ cups all-purpose flour (plus extra for dusting)
- 1/3 cup granulated sugar
- 2 ¼ teaspoons active dry yeast (1 packet)
- 1/2 teaspoon salt
- 2 eggs
- 1/4 cup of whole milk (warmed)
- 1/4 cup unsalted butter (melted)
- In a mixing bowl, combine the flour, sugar, yeast, and salt.
- In a separate bowl, whisk the eggs, warm milk, and melted butter, then add the cooled tangzhong.
- Gradually incorporate the wet mixture into the dry ingredients. Mix until a sticky dough begins to form.
Kneading and Resting the Dough
Let’s give this dough some love!
- Transfer the dough onto a lightly floured surface.
- Knead for about 8-10 minutes until it’s smooth and elastic. If it’s too sticky, sprinkle a little more flour.
- Place the dough in a greased bowl, cover with a damp towel, and let it rise in a warm area until doubled in size—around 1 hour.
Did you know that a warm environment helps yeast grow? This is why placing your dough near a heater or in a turned-off oven can speed things up.
Cutting and Proofing the Donuts
This is where the excitement builds—you actually start to see donuts!
- Roll out the dough on a floured surface to about 1/2 inch thick.
- Use a donut cutter or two round cookie cutters to create shapes. Feel free to make holes for classic donuts or leave them whole for filled variations.
- Place your cut donuts onto a baking sheet lined with parchment paper. Cover and let them proof for about 30 minutes.
You want those donuts to puff up a bit before frying—they’ve got to be fluffy!
Frying the Donuts
It’s time for the best part—frying!
- Ingredients:
- Vegetable oil (for frying)
- In a deep pot, heat the oil to about 350°F (175°C).
- Fry the donuts in batches, cooking for about 1-2 minutes on each side or until golden brown.
- Use a slotted spoon to transfer them to a towel-lined plate to drain excess oil.
Always keep an eye on the temperature to avoid burning—nobody wants a bitter donut experience!
Making the Sugar Glaze
The frosting is what transforms these donuts into something truly dreamy.
- Ingredients:
- 2 cups powdered sugar
- 1/4 cup whole milk
- 1 teaspoon vanilla extract
- In a bowl, whisk together powdered sugar, milk, and vanilla until a smooth, thick glaze forms. Adjust the milk amount for desired consistency.
This glaze could also be the base for various flavors—think chocolate addition or a swirl of maple syrup!
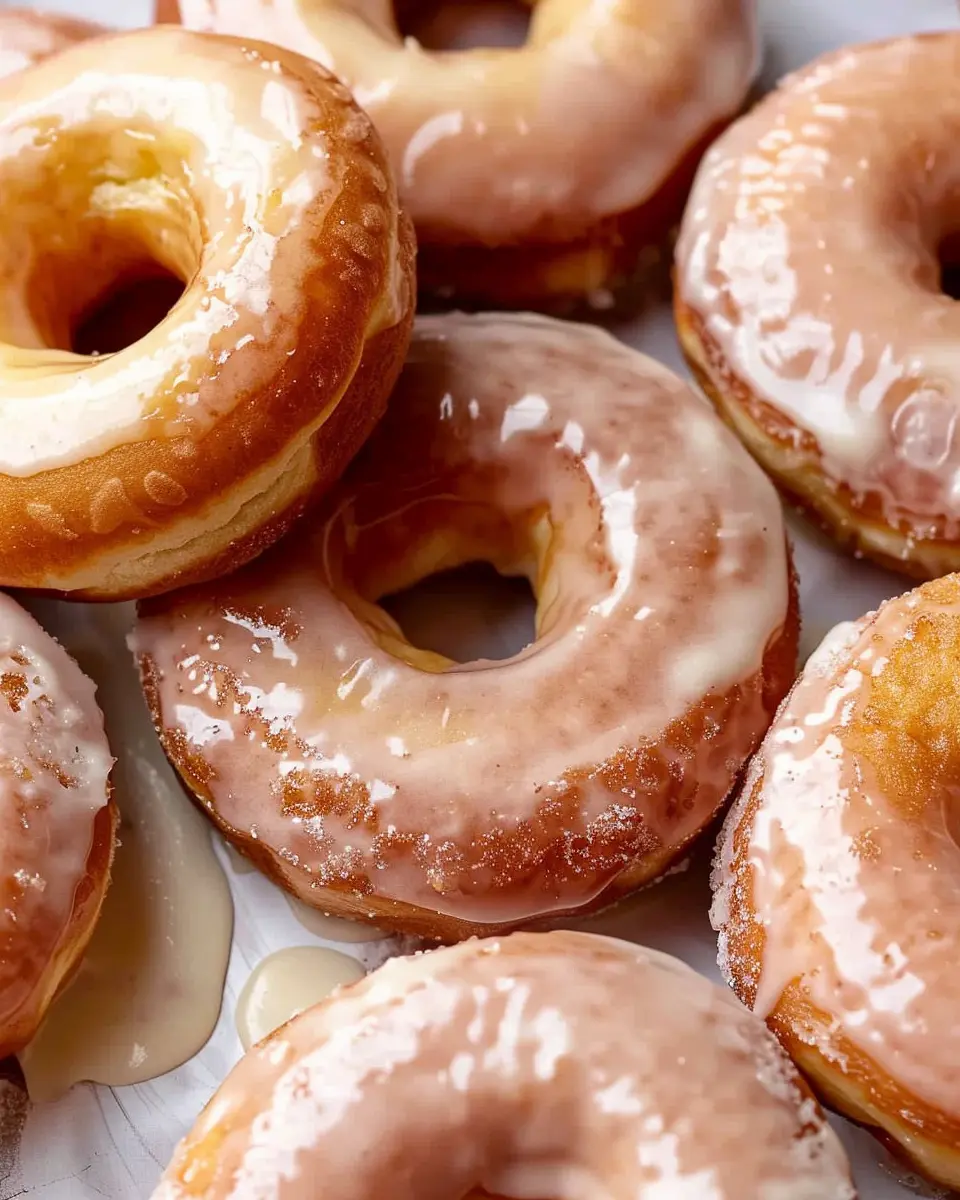
Glazing the Donuts
Now for the grand finale; let’s finish off those beauties!
- Dip the tops of each donut into the glaze while still warm. Allow the excess to drip off.
- Place them on a cooling rack to let the glaze set.
And there you have it—your homemade glazed donuts are ready to enjoy! Serve them fresh with a side of coffee for a delightful breakfast, or share them with friends for an afternoon treat. Baking is all about joy, and there’s no joy quite like a warm donut in hand. Enjoy!
Variations on Homemade Glazed Donuts
Creating homemade glazed donuts is a delightful experience, but why stop at the classic version? Here are some fun variations to elevate your donut game.
Seasonal Flavored Donuts
Why not let the seasons inspire your donut flavors? For a refreshing twist, consider:
- Pumpkin Spice: Perfect for fall, blend in pumpkin puree and spices like cinnamon and nutmeg for that cozy autumn flavor.
- Peppermint Mocha: Ideal for winter, add peppermint extract and some cocoa powder to the batter for a festive treat.
- Lemon Zest: Brighten your spring with a splash of citrus; adding lemon zest creates a fresh vibe that’s hard to resist.
These flavors can not only tantalize your taste buds but also fit harmoniously with seasonal festivities.
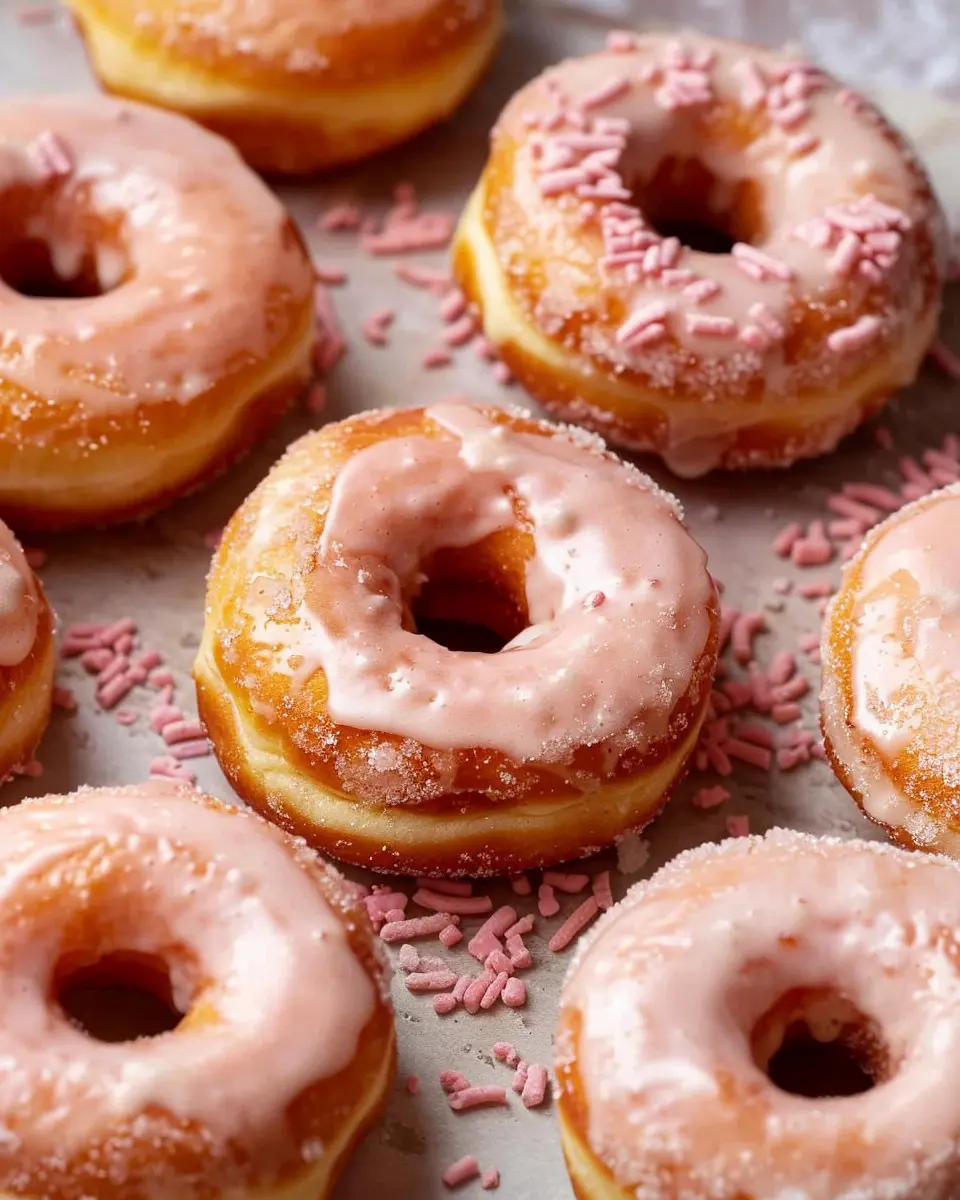
Unique Toppings to Try
Once you’ve mastered the basics of homemade glazed donuts, it’s time to get creative with toppings! Experimenting can be half the fun. Here are some unique ideas:
- Turkey Bacon Crumbles: Add a savory twist with crunchy Turkey bacon bits sprinkled on top; the sweet and salty combination is mind-blowing.
- Chocolate Drizzle and Sea Salt: Melt some chocolate and drizzle it over your glazed donuts, then sprinkle with a pinch of sea salt for that sweet-salty dynamic.
- Nutty Crunch: Coat your donuts in chopped nuts like pistachios or almonds to add a delightful crunch.
These variations invite not only flavor combinations but also visual appeal, making your homemade donuts a showstopper at gatherings.
Feel free to find more inspiration and tips on sites like Serious Eats or The Kitchn to elevate your donut-making skills even further. Celebrate creativity and enjoy every bite!
Cooking Tips and Notes for Homemade Glazed Donuts
Common pitfalls and how to avoid them
Making homemade glazed donuts can be a delightful experience, but there are some common pitfalls to watch out for. One frequent mistake is overmixing the dough, which can lead to tough donuts. To keep them light and fluffy, mix just until combined. Additionally, ensure your oil is at the correct temperature; too hot can burn the outside while leaving the inside raw. Using a thermometer can be a game-changer here.
Storage tips for fresh donuts
To enjoy your homemade glazed donuts for days, store them properly! Let the donuts cool completely before placing them in an airtight container. If you stack them, use parchment paper between layers to avoid sticking. For longer storage, consider freezing them—just pop them in an airtight bag, and they’ll keep well for up to three months. When you’re ready to indulge, let them thaw at room temperature or gently reheat them in the microwave.
For more tips on donut perfection, check out this great article on donut recipes. Happy cooking!
Serving Suggestions for Homemade Glazed Donuts
Perfect Pairings: Coffee and Tea
What better way to enjoy your homemade glazed donuts than with a steaming cup of coffee or a refreshing cup of tea? The sweetness of the glaze beautifully complements the rich, aromatic flavors of coffee. Think about a light roast coffee with hints of caramel or a robust espresso that cuts through the sweetness. If you’re feeling fancy, a soothing chai tea can add an exotic twist and warm spices to your treat. Studies show that coffee and donuts together create a delightful taste sensation and elevate your entire experience.
Creative Ideas for Serving at Gatherings
Planning a brunch or a casual get-together? Donuts can be a fantastic centerpiece. Here’s how to wow your guests:
- Donut Bar: Set up a DIY donut bar with various toppings—think sprinkles, crushed nuts, and flavored drizzles. Your guests will love customizing their homemade glazed donuts!
- Savory Pairings: Complement your donuts with a side of Turkey Bacon or Chicken Ham for a balanced sweet and savory brunch spread.
- Stacked Treats: Consider stacking glazed donuts on a tiered stand for an impressive visual display.
Incorporating these ideas can take your gatherings to the next level! For more entertaining tips, check out resources from sites like Food Network or Martha Stewart.
Time Breakdown for Homemade Glazed Donuts
Creating delicious homemade glazed donuts is an enjoyable endeavor that can easily fit into your weekend plans. Here’s a quick look at the time you’ll need:
Preparation Time
Expect to spend around 30 minutes prepping your ingredients and letting your dough rise. This step is crucial for achieving that fluffy texture.
Cooking Time
The frying itself takes about 15 minutes. Keep an eye on the oil temperature to ensure your donuts cook evenly and get that perfect golden-brown exterior.
Total Time
From start to finish, you’re looking at approximately 45 minutes before you can indulge in your masterpiece. With just a bit of patience, you’ll have warm, glazed donuts to enjoy!
For more ideas on doughnut fillings and toppings, check out Food Network’s tips. Happy baking!
Nutritional Facts for Homemade Glazed Donuts
Calories per serving
When you indulge in a homemade glazed donut, you’ll be diving into about 250 to 300 calories per donut, depending on the size and the ingredients used. Whether you’re enjoying one or two with your morning coffee, it’s good to keep the calorie count in mind for a balanced diet.
Key nutritional components
These delightful treats can provide some interesting nutritional facts you might not expect:
- Carbohydrates: Around 35-40 grams, giving you that satisfying sweetness.
- Fat: Roughly 12-15 grams, primarily from the glaze and frying process.
- Protein: About 3 to 4 grams, which can help keep you feeling full.
While homemade glazed donuts may not be deemed a health food, they can be a delightful treat in moderation. For a healthier option, consider experimenting with whole grain flour or reducing the sugar in your glaze. Curious about the impact of sugar on your diet? Check out this informative article from the CDC here.
Remember, knowing what you’re putting into your body can help make every bite more enjoyable!
FAQs about Homemade Glazed Donuts
Making homemade glazed donuts is a fun and rewarding experience, but you might have some questions. Let’s dive into a few frequently asked questions that might help you get the most out of your donut-making adventure.
How can I adjust the recipe for dietary restrictions?
If you’re looking to modify the recipe for dietary needs, it’s easier than you think! Here are some options:
- Gluten-Free: Substitute all-purpose flour with a gluten-free blend, ensuring it has a binding agent like xanthan gum.
- Dairy-Free: Use almond milk or coconut milk in place of whole milk and replace butter with coconut oil or a dairy-free spread.
- Vegan: Substitute eggs with flaxseed meal or applesauce and use a plant-based milk for the glaze.
For detailed guides on substitutions, check out resources from the American Vegan Society.
Can I freeze homemade glazed donuts?
Absolutely! Homemade glazed donuts can be frozen for up to three months. To do this:
- Allow the donuts to cool completely.
- Place them in an airtight container, separating layers with parchment paper to avoid sticking.
- When ready to enjoy, thaw them for a couple of hours at room temperature or pop them in the microwave for just a few seconds.
What’s the best way to ensure donuts are perfectly fluffy?
Fluffy donuts are all about technique. Here are some tips to keep in mind:
- Don’t overmix: Once you combine wet and dry ingredients, mix just until incorporated. Overmixing can lead to dense donuts.
- Let the dough rise: Be patient! Allow your dough to rise until it’s doubled in size. This is crucial for achieving a fluffy texture.
- Correct frying temperature: Ensure your frying oil is at the right temperature (between 350°F – 375°F) to prevent greasy donuts.
Following these steps can help you craft the perfect homemade glazed donuts that everyone will rave about! Happy baking!
Conclusion on Homemade Glazed Donuts
Final thoughts on embracing homemade donut magic
Crafting your own homemade glazed donuts is an experience that transcends just baking—it’s about creating magical moments in your kitchen. The warm, fluffy texture coupled with a glossy glaze brings joy to both making and sharing.
Don’t hesitate to experiment with flavors like vanilla or chocolate! Remember, donuts are best enjoyed fresh, so gather your friends or family and make a delightful brunch out of it. As you explore this culinary adventure, consider visiting resources like Taste of Home for more delicious baking tips. Trust me, once you dive into the world of homemade donuts, you might never want to go store-bought again!
PrintHomemade Glazed Donuts: The Best Indulgent Treat You’ll Love
Indulge in these delicious homemade glazed donuts that are perfect for any occasion!
- Prep Time: 15 minutes
- Cook Time: 20 minutes
- Total Time: 35 minutes
- Yield: 12 donuts 1x
- Category: Dessert
- Method: Fried
- Cuisine: American
- Diet: Vegetarian
Ingredients
- 2 cups all-purpose flour
- 1/2 cup granulated sugar
- 1 tablespoon baking powder
- 1/2 teaspoon salt
- 1/2 teaspoon ground nutmeg
- 1/2 cup whole milk
- 2 large eggs
- 1/4 cup unsalted butter, melted
- 1 teaspoon vanilla extract
- 2 cups powdered sugar
- 1/4 cup milk, for glaze
Instructions
- In a large bowl, whisk together flour, sugar, baking powder, salt, and nutmeg.
- In another bowl, combine the milk, eggs, melted butter, and vanilla extract.
- Pour the wet ingredients into the dry ingredients and mix until just combined.
- Heat oil in a deep fryer or heavy skillet.
- Drop spoonfuls of dough into the hot oil and fry until golden brown, about 2-3 minutes per side.
- Remove from oil and let drain on paper towels.
- In a separate bowl, whisk together powdered sugar and milk to make the glaze.
- Dunk each donut in the glaze and set on a wire rack to allow the glaze to set.
Notes
- Make sure the oil is hot enough before frying to achieve a perfect golden color.
- Feel free to add sprinkles or other toppings on the glazed donuts!
Nutrition
- Serving Size: 1 donut
- Calories: 200
- Sugar: 10g
- Sodium: 95mg
- Fat: 8g
- Saturated Fat: 4g
- Unsaturated Fat: 3g
- Trans Fat: 1g
- Carbohydrates: 28g
- Fiber: 1g
- Protein: 3g
- Cholesterol: 30mg
Keywords: Homemade Glazed Donuts